@wdgowen This thread is also about silicone custom molds. It always seems that the DIY kits have a more glossy finish, while the artist silicone is more matte.
The reason why you would envelop the tip is that you will have a perfectly fitting hole in your mold. The Phonak receivers have a little bend at the end, nowadays, so they seem less perfect for drilling.*
However, you will either have to remove the receiver to drill a hole in the end of the mold to allow the sound to enter the ear or take care to put the putty not in front of the exit of the receiver.
I always find it rather a hassle to get the receiver perfectly centered in the custom mold. So I choose for drilling. Another nice aspect of drilling is that when you vary the drill hole diameter, you can swell the mold a tiny amount: Making a bit more tighter fit to ensure the canal is truly closed off by the mold. Maybe experimenting with a (small) dome attached to the receiver and enveloping the whole, would yield nice results.
You will have to drill if you need a vent, though. Diameters vary from 0.6mm to 1.6mm and even larger. Normal is around 1mm (0.8-1.2mm). In Phonak Target> acoustics>custom mold there is a recommendation for the vent size based on your hearing loss.
It is strange that the vent doesn’t have that large an impact as a badly fitting custom mold. I use 1mm vent holes and a 3 month old custom mold was outperformed by 10dB by a newly made one on the lowest frequency (250Hz) in AudioDirect testing. (Measuring error being 5dB.)
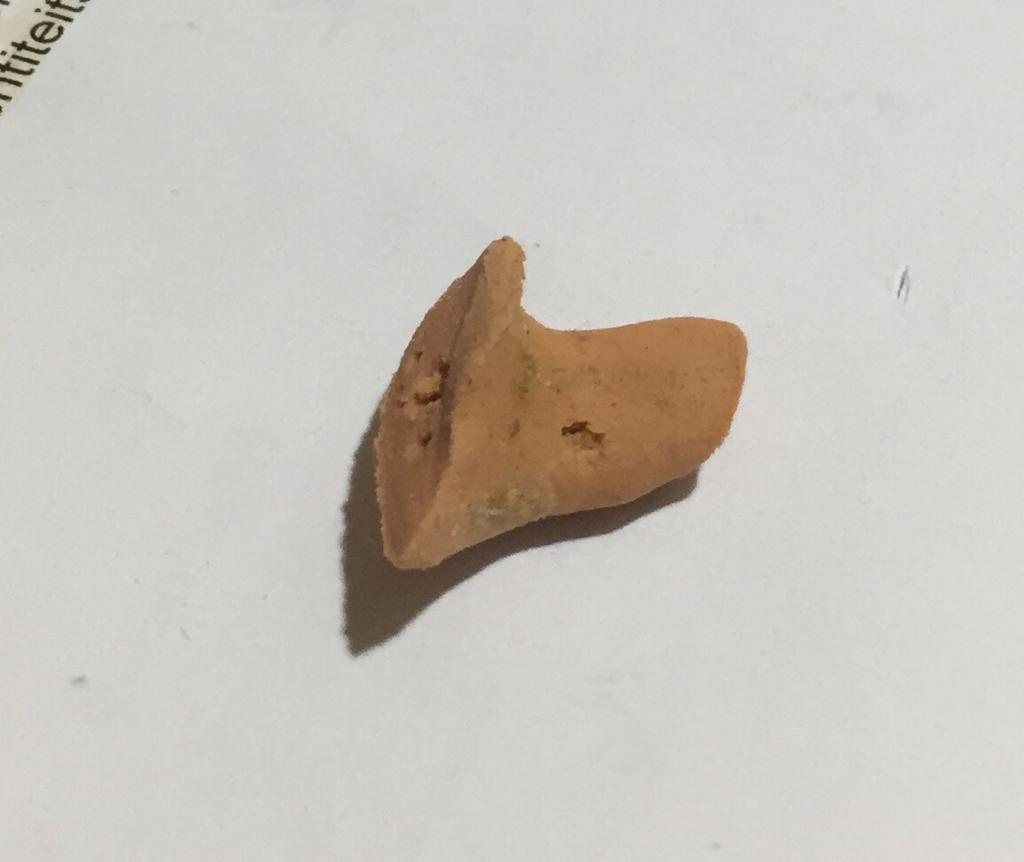
*If you allow for the receiver to be pushed all the way through the custom mold, this problem is of course less. From the front of the mold you drill a small hole (with a length of approx. 3mm) first. Then from the back of the mold you drill straight to the end of that hole. Indeed, for people with narrow ear canals the Phonak receivers will be more easy. It will avoid having to drill to close to the inner bend and changing drilling through the side of the mold, for example: